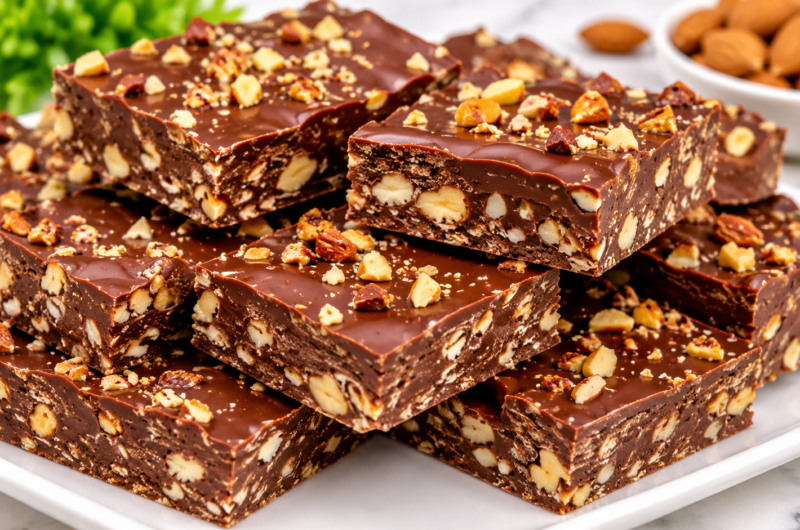
No-Bake Chocolate Peanut Butter Crunch Bars are an easy homemade dessert that combines rich chocolate, creamy peanut butter, crispy rice cereal, and crunchy roasted peanuts. These delicious bars offer a wonderful balance of sweet, salty, creamy, and crispy textures in every bite. Since they require no oven or complicated baking techniques, they are an excellent choice when you want to prepare a quick dessert with simple pantry ingredients.
The combination of chocolate and peanut butter makes these treats especially satisfying. Semi-sweet chocolate provides a deep cocoa flavor, while creamy peanut butter adds a smooth, nutty taste that balances the sweetness. Crispy rice cereal creates a light crunch throughout the mixture, and chopped salted roasted peanuts add extra texture and a pleasant salty contrast. A small amount of ground cinnamon can also be included to give the chocolate mixture a subtle warming flavor.
These homemade chocolate peanut butter bars are ideal for busy days, family gatherings, lunchbox treats, holiday dessert platters, or an afternoon snack. You only need a few basic ingredients and approximately 10 minutes of preparation time. Once the mixture is combined, it goes into the freezer to firm up, making this recipe convenient for anyone who wants a delicious homemade dessert without spending hours in the kitchen.
What Makes These Chocolate Peanut Butter Bars Special?
No Baking Required
One of the biggest advantages of this recipe is that you do not need an oven. Instead of preparing a traditional baked dessert, you simply melt the chocolate and peanut butter together, combine them with the crunchy ingredients, and allow everything to set in the freezer. This straightforward preparation makes the recipe especially useful during warmer months when you prefer not to heat the kitchen.
The freezer does most of the work after the ingredients have been mixed. As the chocolate mixture cools, it becomes firm and holds the cereal and peanuts together. After a short setting period, the mixture can be sliced into individual portions. This makes no-bake chocolate peanut butter bars a practical dessert for beginners and experienced home cooks alike.
A Delicious Chocolate and Peanut Butter Combination
Chocolate and peanut butter are two ingredients that complement each other naturally. Semi-sweet chocolate brings a rich, slightly sweet cocoa taste, while peanut butter adds a creamy consistency and roasted nut flavor. When melted together, they create a smooth mixture that coats the crispy rice cereal and chopped peanuts evenly.
The salted roasted peanuts also help balance the sweetness of the chocolate. Their slightly salty flavor makes each bite more interesting without overpowering the other ingredients. If you enjoy chocolate peanut butter desserts, these crunchy bars offer a satisfying combination that is easy to prepare and enjoyable to share.
Crispy, Creamy, and Crunchy Texture
Texture is an important part of what makes these homemade peanut butter chocolate bars enjoyable. The melted chocolate and peanut butter create a smooth coating, while crispy rice cereal gives the bars their light and airy crunch. Chopped roasted peanuts provide an additional layer of texture that makes every piece satisfying.
Unlike soft chocolate desserts, these bars have a firm consistency once chilled. The cereal stays surrounded by the chocolate mixture, creating small pockets of crispiness throughout each portion. This combination makes them suitable for anyone who enjoys crunchy chocolate snacks and simple homemade candy-style treats.
How to Make No-Bake Chocolate Peanut Butter Crunch Bars
Preparing these easy chocolate peanut butter crunch bars involves just a few straightforward steps. The most important things are melting the chocolate mixture gently, coating the cereal and peanuts evenly, and allowing enough time for the bars to become firm before cutting.
Prepare the Chocolate and Peanut Butter Mixture
Start by placing the semi-sweet chocolate chips and creamy peanut butter into a large skillet or saucepan. Add the optional ground cinnamon at this stage if you want to include it. Set the pan over medium-high heat and begin whisking frequently as the ingredients warm.
Continue stirring until the chocolate chips have melted completely and the peanut butter has blended into a smooth mixture. Avoid leaving the pan unattended because chocolate can become overheated if it is exposed to excessive heat. The mixture should look glossy, uniform, and free from visible chocolate pieces before you move to the next step.
Add the Crispy Rice Cereal and Peanuts
Once the chocolate and peanut butter are fully melted, remove the pan from the heat. Add the crispy rice cereal and chopped salted roasted peanuts directly to the warm mixture. Stir carefully until the dry ingredients are coated evenly with the chocolate mixture.
Make sure to reach the bottom and sides of the pan while mixing. This helps prevent dry cereal from remaining at the bottom and ensures that the peanuts are distributed throughout the mixture. Work gently so that you do not crush too much of the crispy rice cereal during stirring.
Prepare the Baking Pan
Take an 8-inch square baking pan and line it with parchment paper or aluminum foil. Make sure the lining covers the bottom and sides of the pan. Leaving a little extra paper extending over the edges can make it easier to lift the chilled mixture out later.
Transfer the chocolate peanut butter cereal mixture into the prepared pan. Use a spoon or spatula to spread it toward the corners and edges. Press it gently into an even layer so that the finished bars have a consistent thickness.
Avoid pressing the mixture too aggressively because the crispy rice cereal should retain some of its airy texture. A gentle, even layer will make the bars easier to cut and give them a pleasant crunchy consistency.
Cool and Freeze Until Firm
Allow the filled pan to cool slightly until the bottom feels warm rather than hot to the touch. This short cooling period helps prepare the mixture for freezing. Once it has cooled sufficiently, place the pan in the freezer for approximately 45 minutes or until the chocolate mixture is completely set.
The exact setting time can vary slightly depending on your freezer and the temperature of the mixture. The bars should feel firm enough to hold their shape when lifted from the pan. If the center still feels soft, give them additional chilling time before attempting to slice them.
Remove and Slice Into Bars
After the mixture has become firm, remove the pan from the freezer and let it sit at room temperature for approximately 10 minutes. This brief resting period makes it easier to remove the entire chocolate slab without causing unnecessary cracks.
Use the parchment paper or foil edges to lift the mixture out of the pan. Place it on a cutting board and slice it into individual bars using a sharp knife. You can make larger portions for a substantial dessert or cut smaller pieces for bite-sized snacks.
The original recipe makes approximately 32 small bars from an 8-inch square pan. Smaller pieces are convenient for dessert trays, parties, and sharing with family and friends.
Easy Variations to Try
Use Different Nuts
Although salted roasted peanuts are used in the original recipe, you can experiment with other nuts if you want a slightly different flavor. Chopped almonds, cashews, or walnuts can provide interesting textures and complement the chocolate and peanut butter mixture.
You can also combine different nuts to create a more varied crunch. However, if you want to preserve the original recipe’s flavor, salted roasted peanuts remain the best choice. Keep in mind that changing the nuts may slightly affect the final taste and texture.
Replace the Crispy Rice Cereal
Crispy rice cereal is not the only option for adding crunch. Puffed wheat, puffed quinoa, or another crunchy cereal can also be used as an alternative. These ingredients provide different textures while still allowing the melted chocolate and peanut butter to hold everything together.
When making substitutions, choose a cereal that is light and crisp rather than one that becomes soft easily. The texture of the finished bars will depend on the cereal you choose, so the result may be slightly different from the original version.
Add Dried Fruit
Dried fruit can be included as another variation if you enjoy a combination of chocolate, nuts, and fruity flavors. Small pieces of dried cranberries, raisins, or chopped dried cherries can add a pleasant contrast to the rich chocolate mixture.
Keep additions reasonably sized so they distribute evenly and do not make the bars difficult to cut. If you decide to experiment with dried fruit, remember that the original recipe does not require it.
When to Serve Chocolate Peanut Butter Crunch Bars
These homemade no-bake bars are suitable for many occasions because they are easy to prepare, simple to portion, and convenient to store. You can serve them as an afternoon snack with coffee, tea, or a glass of milk. Their combination of chocolate and peanut butter also makes them a welcome addition to casual family gatherings.
For parties and celebrations, cutting the mixture into smaller squares creates easy-to-serve bite-sized desserts. You can arrange the pieces on a serving plate or include them in a homemade dessert assortment with cookies, brownies, and other chocolate treats.
They are also useful when you need a dessert that can be prepared ahead of time. Since the bars need to chill before serving, you can make them in advance and keep them stored in the freezer until you are ready to enjoy them.
Common Questions About No-Bake Peanut Butter Chocolate Bars
Why Are My Chocolate Peanut Butter Bars Too Soft?
If your bars are too soft, they may need additional time in the freezer. The chocolate mixture must become completely firm before slicing. Another possibility is that the mixture has not cooled sufficiently before being placed in the freezer. Allow the bars to chill thoroughly and avoid leaving them at room temperature for extended periods.
Can I Make These Bars Ahead of Time?
Yes, these bars are convenient for preparing ahead because they can be stored in the freezer. Once the mixture has set and been sliced, transfer the pieces into an airtight container. This allows you to prepare the dessert in advance for parties, family gatherings, or everyday snacking.
Can I Cut the Bars Into Different Sizes?
Absolutely. The recipe produces approximately 32 small pieces when prepared in an 8-inch square pan, but you can adjust the portion size according to your needs. Larger bars work well when serving the dessert individually, while smaller squares are useful for sharing with a larger group.
Can I Make This Recipe Without Cinnamon?
Yes. Ground cinnamon is optional, so you can leave it out without changing the basic preparation method. The chocolate, peanut butter, rice cereal, and roasted peanuts already provide plenty of flavor. Omitting cinnamon will give you a more traditional chocolate and peanut butter taste.
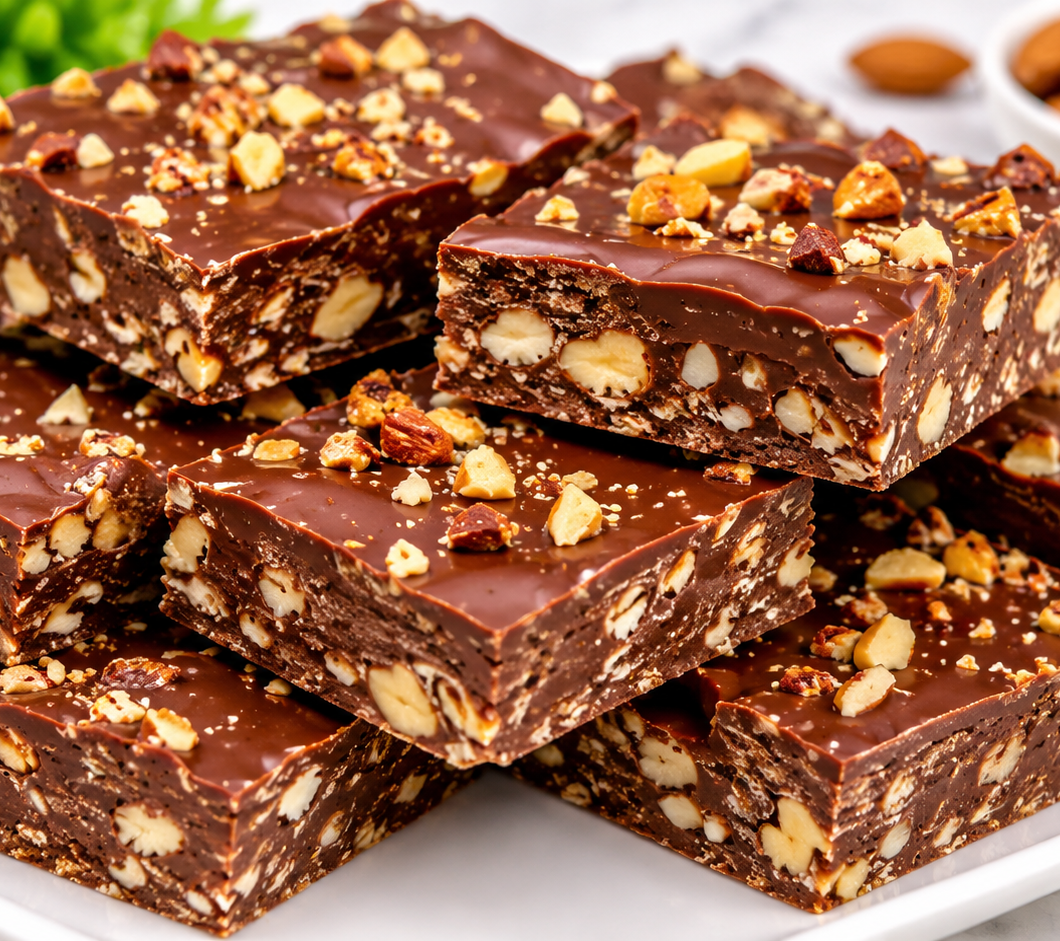
No-Bake Chocolate Peanut Butter Crunch Bars Dessert
 Recipe by admin1
These easy No-Bake Chocolate Peanut Butter Crunch Bars combine melted semi-sweet chocolate, creamy peanut butter, crispy rice cereal, and salted roasted peanuts. They are crunchy, rich, and simple to prepare without an oven. Perfect for parties, afternoon snacks, and homemade desserts.
32
servings10
minutes1
hour107
kcal1
hour10
minutesIngredients
2 cups semi-sweet chocolate chips
2 cups crispy rice cereal
1 cup creamy peanut butter
1 cup salted roasted peanuts, chopped
⅛ teaspoon ground cinnamon (optional)
Directions
- Melt the Chocolate and Peanut Butter
Add the semi-sweet chocolate chips, creamy peanut butter, and optional ground cinnamon to a large skillet or saucepan over medium-high heat. Whisk frequently until everything has melted into a smooth and uniform mixture. - Combine the Crunchy Ingredients
Remove the pan from the heat. Add the crispy rice cereal and chopped salted roasted peanuts. Stir gently until all the ingredients are evenly coated with the chocolate and peanut butter mixture. - Prepare the Baking Pan
Line an 8-inch square baking pan with parchment paper or aluminum foil. Pour the prepared mixture into the pan and spread it evenly into the corners. - Freeze Until Firm
Allow the mixture to cool slightly until the bottom of the pan feels warm to the touch. Place it in the freezer for approximately 45 minutes or until completely set. - Slice and Serve
Remove the pan from the freezer and let it rest for 10 minutes. Lift the mixture out using the parchment paper or foil lining. Cut into approximately 32 small bars or your preferred serving size. Enjoy!
Notes
- Store the bars in an airtight container in the freezer.
- Allow frozen bars to soften slightly before serving.
- You can replace the salted roasted peanuts with other nuts or dried fruit.
- Puffed wheat, puffed quinoa, or another crunchy cereal can replace crispy rice cereal.
- Ground cinnamon is optional and can be omitted.
- For easier slicing, allow the frozen mixture to rest for approximately 10 minutes before cutting.
Nutrition Facts
- Calories: 107kcal
- Fat: 7g
- Carbohydrates: 10g
- Sugar: 7g
- Protein: 2g