No-Knead Gluten-Free Bread
Introduction
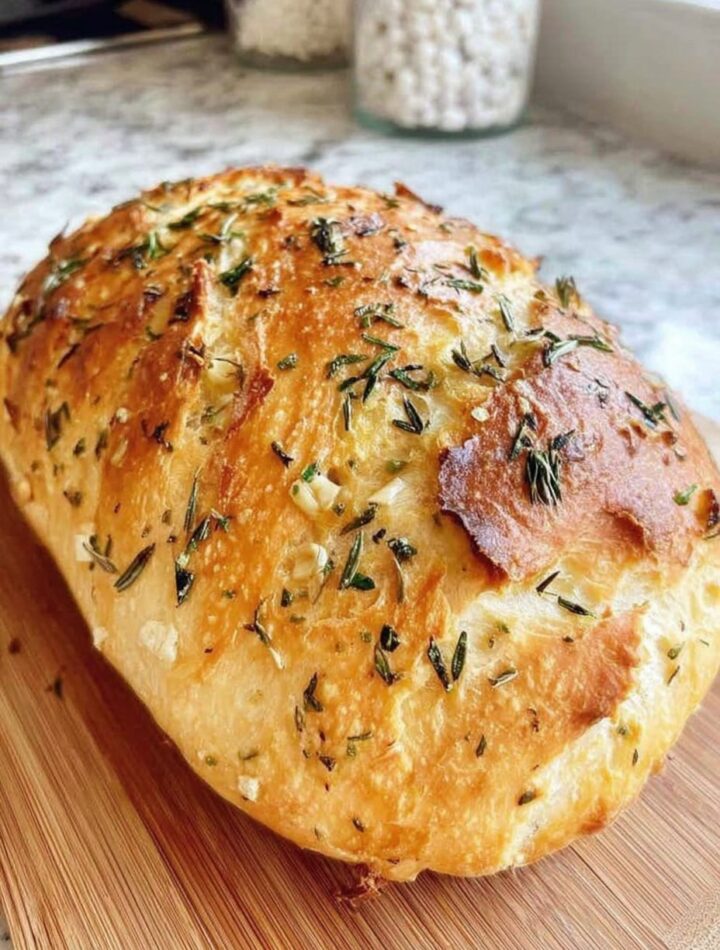
No-knead gluten-free bread is an easy homemade bread that requires minimal effort and no traditional kneading. It is soft inside with a slightly crusty exterior and is perfect for sandwiches, toast, or serving with soups. Because it is gluten-free, it uses a blend of gluten-free flours and a simple mixing method that relies on time rather than kneading to develop structure.
Ingredients
- 2 cups gluten-free all-purpose flour blend (with xanthan gum included if possible)
- 1/2 cup almond flour (optional for softness and flavor)
- 1 teaspoon salt
- 1 tablespoon sugar or honey
- 1 packet instant yeast (about 2 1/4 teaspoons)
- 1 1/2 cups warm water (not hot)
- 2 tablespoons olive oil or melted butter
- 1 teaspoon apple cider vinegar (helps improve texture)
Step 1: Activate the Yeast (if needed)
If your yeast is not instant, mix it with warm water and sugar. Let it sit for 5–10 minutes until it becomes foamy. This shows the yeast is active.
If using instant yeast, you can skip this step and mix it directly with the dry ingredients.
Step 2: Mix Dry Ingredients
In a large bowl, combine gluten-free flour, almond flour, salt, and yeast. Stir well so everything is evenly distributed.
Proper mixing ensures consistent rise and texture in the final bread.
Step 3: Add Wet Ingredients
Pour in warm water, olive oil, and apple cider vinegar. Mix everything together using a spoon or spatula until you get a thick, sticky dough.
The dough will not look like traditional bread dough; gluten-free dough is usually softer and more batter-like.
Step 4: First Rise
Cover the bowl with a clean towel or plastic wrap. Let the dough rest in a warm place for 1 to 1.5 hours, or until it doubles in size.
During this time, the yeast will create air pockets that help the bread rise.
Step 5: Prepare the Baking Pan
Grease a loaf pan lightly with oil or line it with parchment paper. This prevents sticking and helps with easy removal after baking.
Step 6: Transfer the Dough
Pour the risen dough into the prepared loaf pan. Smooth the top gently with a spatula or wet hand. Do not press too hard, as you want to keep air inside the dough.
Step 7: Second Rise
Let the dough rest again in the pan for 20–30 minutes. This second rise helps improve texture and volume.
Step 8: Bake the Bread
Preheat the oven to 180°C (350°F). Bake the bread for 35–45 minutes, or until the top is golden brown and a toothpick inserted in the center comes out clean.
If the top browns too quickly, cover it loosely with foil.
Step 9: Cool Properly
Remove the bread from the oven and let it cool in the pan for 10 minutes. Then transfer it to a wire rack and allow it to cool completely before slicing.
Cooling is important because gluten-free bread continues to set as it cools.
Serving Suggestions
No-knead gluten-free bread can be served with:
- Butter or jam
- Soups and stews
- Sandwich fillings
- Eggs or avocado
- Cheese and spreads
Tips for Best Results
- Do not skip the resting time; it is essential for structure.
- Use a good gluten-free flour blend for better texture.
- Add a little extra water if the dough feels too thick.
- Let the bread cool fully before slicing to avoid crumbling.
- Store in an airtight container to keep it fresh.
Variations
- Add herbs like rosemary or thyme for savory bread.
- Mix in seeds such as sunflower or chia for texture.
- Add cinnamon and raisins for a sweet version.
- Use dairy-free butter for a vegan option.
Storage Instructions
Store at room temperature for up to 2 days or refrigerate for up to 5 days. You can also freeze slices for longer storage and toast them when needed.
Conclusion
No-knead gluten-free bread is a simple and reliable recipe that produces soft, homemade bread without the need for kneading. With minimal effort and basic ingredients, it is a great option for anyone avoiding gluten but still wanting fresh, warm bread at home.