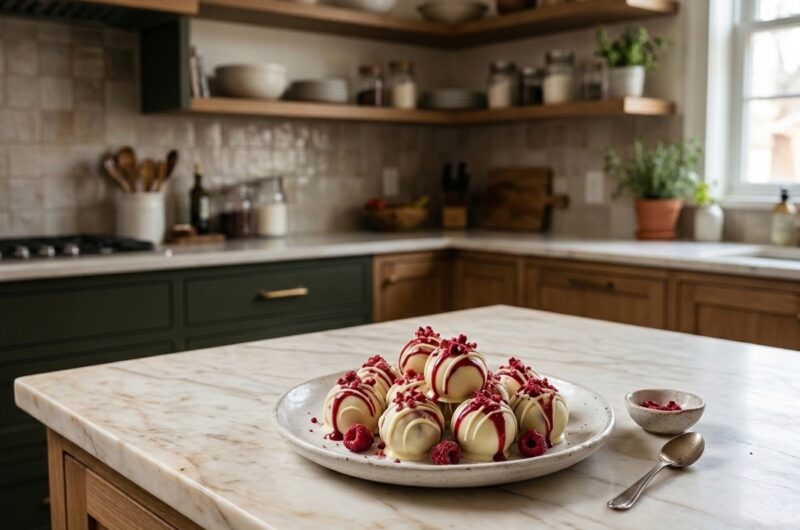
No Bake Cheesecake Balls are a delicious bite-sized dessert that brings together the smooth, creamy taste of traditional cheesecake without requiring an oven. Made with cream cheese, sugar, vanilla extract, and graham cracker crumbs, these little treats have a rich cheesecake flavor and a soft texture that makes them enjoyable for almost any occasion.
Each ball is small enough to serve as a sweet snack, party dessert, or after-dinner treat, making this recipe a convenient choice when you want something homemade without spending hours in the kitchen.
One of the best things about this easy no bake cheesecake recipe is how little preparation it requires. You do not need a springform pan, water bath, or complicated baking instructions. Instead, the ingredients are mixed together, chilled until firm enough to handle, and shaped into small portions. Once the cheesecake mixture has been rolled into balls, you can finish them with your favorite coating, such as melted chocolate, colorful sprinkles, or extra graham cracker crumbs.
These homemade cheesecake bites are also easy to prepare ahead of time. The mixture needs a short period in the freezer before shaping, followed by additional refrigeration to develop a firmer texture. This makes them especially useful for celebrations, holiday dessert tables, birthday parties, family gatherings, and casual get-togethers. You can prepare them in advance and keep them refrigerated until it is time to serve.
What Makes These No Bake Cheesecake Bites Special?
Classic Cheesecake Flavor in a Small Dessert
Traditional cheesecake is known for its creamy filling, slightly sweet flavor, and familiar graham cracker crust. This recipe brings those same qualities together in a much smaller and easier-to-serve dessert. Cream cheese provides the rich base, while granulated sugar adds sweetness and vanilla extract gives the mixture a pleasant aroma. Graham cracker crumbs bring a subtle honey-like flavor and help create the familiar taste associated with classic cheesecake.
Because everything is combined into one mixture, you get a little of each cheesecake element in every bite. There is no need to prepare a separate crust or filling. The result is a smooth, sweet cheesecake center that can be enjoyed on its own or finished with a decorative coating.
No Oven or Baking Required
Another reason to enjoy this recipe is that it does not involve baking. You can make these cheesecake balls using a mixing bowl, an electric mixer, and a little refrigerator or freezer space. This is particularly convenient during warmer months when you may prefer to avoid turning on the oven. It is also a helpful recipe for anyone who wants to prepare a homemade dessert without dealing with complicated baking techniques.
The chilling process is important because cream cheese creates a soft mixture when first combined with the other ingredients. A short time in the freezer makes it easier to handle and shape. After rolling, additional refrigeration helps the cheesecake bites become firmer and gives them a better texture when served.
Easy to Customize for Different Occasions
These no bake cheesecake balls offer plenty of room for creativity. You can keep them simple with graham cracker crumbs or make them look more festive with colorful sprinkles. Melted chocolate is another popular option because it creates a smooth outer layer that becomes firm after chilling. White chocolate and regular chocolate both work well as coatings.
You can also prepare different coatings in one batch to create a dessert platter with several varieties. This is a simple way to make the same recipe look different without changing the cheesecake mixture. Whether you prefer a classic appearance or something more colorful, these small cheesecake treats can be adjusted to match the occasion.
How to Make No Bake Cheesecake Balls
Prepare the Cream Cheese Mixture
Begin by placing the softened cream cheese in a medium-sized mixing bowl. Add the granulated sugar and vanilla extract. Using an electric mixer, beat everything together until the mixture looks smooth, creamy, and evenly combined. Scrape down the sides of the bowl when necessary so that no unmixed cream cheese remains around the edges.
Taking time to soften the cream cheese beforehand makes this step much easier. Cold cream cheese can create lumps and may require additional mixing. A smooth starting mixture will give your cheesecake bites a more consistent texture and help the graham cracker crumbs blend evenly.
Add the Graham Cracker Crumbs
Once the cream cheese mixture is smooth, add the graham cracker crumbs. Stir them into the mixture until they are distributed throughout. The crumbs help thicken the cheesecake filling and give it a texture that is suitable for shaping.
Avoid adding extra crumbs without considering the final texture. A larger amount creates firmer cheesecake balls, while a slightly smaller quantity can produce a softer, creamier center. The original measurement provides a useful starting point for a mixture that can be rolled after chilling.
Chill the Mixture Before Rolling
Transfer the prepared cheesecake mixture to the freezer and allow it to chill for approximately 30 minutes. This step helps the cream cheese mixture become firmer and less sticky. It is much easier to shape the cheesecake filling when it has had enough time to set.
Check the mixture after chilling. It should be firm enough to scoop and roll but should not become completely frozen. If it still feels too soft, give it a little additional chilling time. The exact time can vary depending on the temperature of your freezer and the softness of the cream cheese.
Shape the Cheesecake Balls
Lightly grease your hands with a small amount of cooking spray to prevent the mixture from sticking. Take small portions of the chilled cheesecake mixture and roll them between your palms to form bite-sized balls. Aim for a size of approximately 1 to 1½ inches so that each portion is easy to serve and enjoy.
Place the shaped cheesecake balls on a parchment-lined tray. Leave a little space between them so they do not stick together while you prepare the coatings. If the mixture begins sticking to your hands, apply another very light amount of cooking spray before continuing.
Try to keep the balls relatively similar in size. Even portions create a more attractive presentation and make serving easier, especially when preparing a larger batch for parties or celebrations.
Add Your Favorite Coating
Once all the cheesecake balls have been shaped, choose the coating you prefer. For a simple finish, roll each ball in sprinkles or additional graham cracker crumbs. Gently press the coating against the surface so that it stays in place.
For a chocolate-covered version, melt approximately 12 ounces of melting chocolate and stir in a small amount of vegetable or coconut oil. Use two forks to lower each cheesecake ball into the melted chocolate, turning it carefully until the entire surface is covered.
Lift each coated ball with a fork and allow the extra chocolate to drip away. Transfer it to parchment paper and finish with sprinkles or graham cracker crumbs if desired. Work carefully because the chilled cheesecake centers can become soft if they remain at room temperature for too long.
Refrigerate Until Firm
Arrange the coated cheesecake balls on a tray and place them in the refrigerator. Allow them to chill for at least four hours for the best texture. Although they can be eaten earlier, additional chilling helps the cream cheese filling become firmer and makes the bites easier to handle.
Once properly chilled, transfer the cheesecake balls to an airtight container. Keep them refrigerated until serving time. If you are preparing them for a special occasion, making them the day before can be a convenient way to reduce last-minute kitchen work.
Best Coating Ideas for Cheesecake Balls
Chocolate-Covered Cheesecake Balls
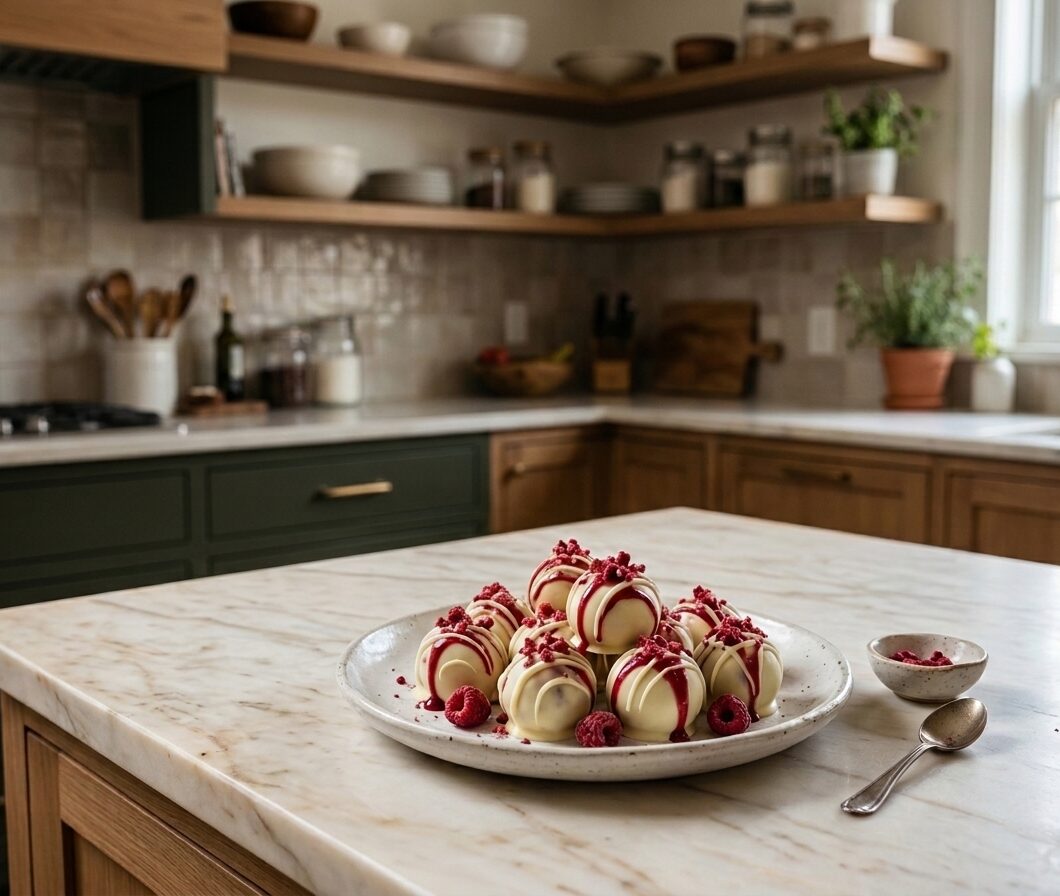
Chocolate is one of the most satisfying ways to finish these homemade cheesecake bites. It creates a smooth outer shell that contrasts nicely with the soft cream cheese center. You can use regular melting chocolate or white chocolate depending on the flavor and appearance you prefer.
Chocolate-coated cheesecake balls are especially suitable for dessert platters because the coating helps the individual portions hold their shape. Add a few sprinkles or extra crumbs before the chocolate sets to create a decorative finish.
Cheesecake Balls with Colorful Sprinkles
Sprinkles are a simple option when you want a bright and cheerful dessert. They are particularly suitable for birthday parties, children’s celebrations, holiday gatherings, and family events. Roll each cheesecake ball in sprinkles and gently press them into the surface so that they adhere properly.
Different sprinkle colors can give the same recipe several different looks. You can prepare a mixture of colorful balls or use a single color theme to match your party decorations.
Graham Cracker Crumb Coating
For anyone who enjoys the traditional flavor of cheesecake, extra graham cracker crumbs make an excellent coating. They add a light crunch and reinforce the familiar taste of a classic cheesecake crust.
This option is also useful when you want to avoid melting chocolate. Simply roll the chilled balls in the crumbs and press gently to help them stick. The finished dessert has a simple homemade appearance and a pleasant balance of creamy and crumbly textures.
When to Serve No Bake Cheesecake Balls
These easy cheesecake balls are suitable for many occasions because they are small, convenient, and simple to arrange on a serving platter. They make a lovely addition to birthday parties, holiday celebrations, potlucks, family dinners, and casual gatherings. Since they are already divided into individual portions, guests can pick them up without needing plates, forks, or a serving knife.
They are also a useful make-ahead dessert for busy days. You can prepare the mixture, shape the balls, add the coatings, and refrigerate everything before your event. When serving, arrange them in small paper candy cups or place them neatly on a chilled dessert tray.
For a more attractive presentation, combine several coating options on one platter. Chocolate-covered bites, sprinkle-coated balls, and graham cracker versions create variety without requiring separate recipes. Remember to keep the dessert refrigerated when it is not being served because the filling contains cream cheese.
How to Store No Bake Cheesecake Balls
Refrigerator Storage
Store the finished cheesecake balls in an airtight container in the refrigerator. They can be kept chilled for approximately five days. Keeping the container sealed helps prevent the bites from absorbing other refrigerator odors and protects their texture.
If you are stacking several layers, place parchment paper between them to reduce sticking and protect the coatings. For the best serving experience, keep them chilled until shortly before eating.
Freezer Storage
These cheesecake bites are also suitable for freezing. Arrange them in a single layer on a parchment-lined tray until firm, then transfer them to a freezer-safe airtight container. They can be frozen for up to three months.
Chocolate-coated cheesecake balls are particularly enjoyable straight from the freezer if you prefer a firmer, colder dessert. If you want a softer cheesecake center, transfer the desired portions to the refrigerator and allow them to thaw gradually before serving.
Frequently Asked Questions About No Bake Cheesecake Balls
Do Cheesecake Balls Need to Be Baked?
No. This recipe does not require an oven or any baking. The ingredients are mixed together, chilled, rolled into small portions, and finished with a coating of your choice. Refrigeration provides the time needed for the cream cheese mixture to become firm enough to serve.
Why Is My Cheesecake Mixture Too Sticky?
The mixture may feel sticky if the cream cheese is very soft or has not been chilled long enough. Placing it in the freezer for approximately 30 minutes usually makes it easier to handle. Lightly greasing your hands with cooking spray can also prevent the mixture from sticking while rolling.
Can I Make Cheesecake Balls Without Chocolate?
Yes. Chocolate is completely optional. You can coat the cheesecake balls in colorful sprinkles or graham cracker crumbs instead. Both choices provide a simple finish while allowing the creamy cheesecake flavor to remain the main attraction.
How Long Should Cheesecake Balls Chill Before Serving?
The mixture needs approximately 30 minutes in the freezer before shaping. After adding the coating, refrigerate the finished cheesecake balls for at least four hours for a firmer texture. They may be eaten earlier, but longer chilling helps them hold their shape.
Can I Freeze No Bake Cheesecake Balls?
Yes. Place them in an airtight, freezer-safe container and freeze for up to three months. You can enjoy them frozen for a firmer texture or thaw them in the refrigerator if you prefer a softer center.
No-Bake Cheesecake Balls Dessert
 Recipe by admin1
These easy No Bake Cheesecake Balls are creamy, sweet, and full of classic cheesecake flavor. Made with four simple ingredients, they are rolled into bite-sized portions and finished with chocolate, sprinkles, or graham cracker crumbs. Perfect for parties, holidays, and make-ahead desserts.
20
servings15
minutes30
minutes64
kcal45
minutesIngredients
- For the Cheesecake Balls
8 oz. block cream cheese, softened to room temperature
⅓ cup granulated sugar
1 teaspoon vanilla extract
⅔ cup graham cracker crumbs
- For Coating
Sprinkles
Graham cracker crumbs
Melted chocolate
Other desired coatings
Directions
- Prepare the Cheesecake Filling
In a medium bowl, beat the softened cream cheese, sugar, and vanilla extract with an electric mixer until smooth and creamy. Add the graham cracker crumbs and stir until evenly combined. - Chill the Mixture
Place the cheesecake mixture in the freezer for approximately 30 minutes until firm enough to roll. - Shape the Balls
Lightly grease your hands with cooking spray. Roll the mixture into small, bite-sized balls and place them on a parchment-lined tray. - Add the Coating
Roll the cheesecake balls in sprinkles or additional graham cracker crumbs, gently pressing the coating into the surface. Alternatively, melt approximately 12 oz. of melting chocolate with 1 teaspoon of canola oil. Dip each cheesecake ball into the melted chocolate using two forks, then transfer it to parchment paper. Add extra sprinkles if desired. - Chill and Serve
Refrigerate the finished cheesecake balls for at least 4 hours to help them become firm. Serve chilled or store in an airtight container until ready to enjoy.
Nutrition Facts
- Calories: 64kcal
- Fat: 4g
- Carbohydrates: 6g
- Sugar: 4g
- Protein: 1g